This tip explains how to generate and submit blogger sitemap to google webmaster tools:
Before doing this,let me say what are sitemaps and how they will help us.The reason we use them is,they will help google bot to crawl,index pages of your site and tell you if there are any problems when they try to index it.It also helps you to know,how many pages exactly are indexed,and what people searched in the search engine to visit your site.
Let me explain the detailed procedure on how to submit your blogger sitemap to google.
1.First,go to google webmaster tools and sign in with your gmail account.
2.After you logged in, you will see this asking you to add a site.
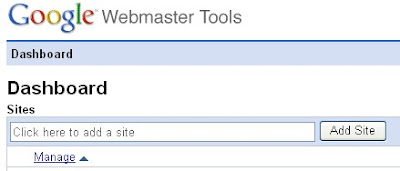
Add your blog url(ex:kranthitips.blogspot.com).Don't add with http or www.
3.Next,it asks you to verify your site.It is just to confirm whether you are the owner or not.
CLICK on the 'verify your site' link.

Next,
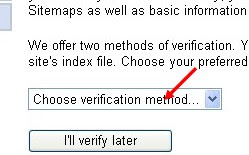
4.There are two ways to verify your ownership but, there is only one way for the blogger users to add a metatag.
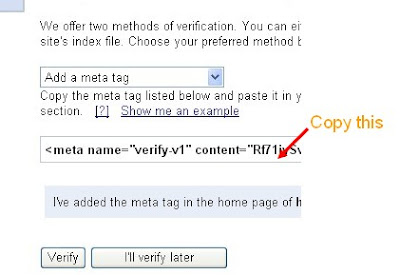
5.Copy the metatag.
Now,sign into your blogger account>click the layout button>Edit html and paste the metatag just after the head tag and save the changes.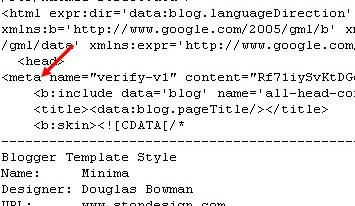
and click the verify button in the google webmaster tools and there will be a confirmation message saying that you have sucessfully verified.
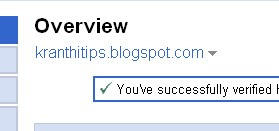
Now,you have to submit a sitemap for google to crawl your site.Go back to the google webmaster dashboard or (home) and click the 'Add' link which is next to your blog name and in the Sitemaps column.Then,you see this,
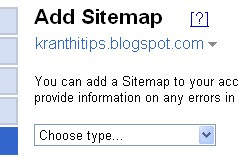
Choose 'Add general web sitemap' from the dropdown menu and type rss.xml or atom.xml next to your blog address as shown below
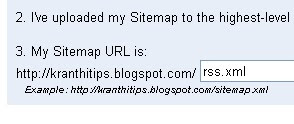
or
 and click the 'Add General Web Sitemap' button.
6.That's it.Now your sitemap is successfully submitted to google.Check 2 or 3 days after and you will see the detailed statistics of your blog(indexed pages,any errors,etc.)


